


Introduction
Popcorn ceilings, also known as acoustic ceilings due to their sound-dampening texture, were extremely popular in homes from the 1950s through the 1980s. However, these textured ceilings have fallen out of style and are often associated with outdated designs and potential health hazards.
If you’re considering popcorn ceiling removal, you’re not alone. Many homeowners, DIY enthusiasts, and renovation seekers are exploring ways to modernize their living spaces. Whether you’re aiming to boost the resale value of your home or eliminate potential health risks like asbestos, this guide will help you understand the cost to remove popcorn ceiling, the process, and everything you need to know about popcorn ceiling removal.
What is a Popcorn Ceiling?
What Is It Made Of?
Popcorn ceilings are a textured ceiling finish created by spraying or rolling a mixture of drywall compound and materials like Styrofoam or vermiculite. This creates a bumpy finish resembling popcorn kernels.
Identifying a Popcorn Ceiling
To determine if your ceiling is a popcorn ceiling, run your fingers or a flashlight across it. A popcorn ceiling will have a textured, uneven surface rather than a smooth finish.
Aesthetic and Health Concerns
- Outdated Appearance: Popcorn ceilings make a space look older and less modern.
- Health Concerns: Homes built before the 1980s may contain asbestos in their popcorn ceilings, a harmful material that can pose serious health risks when disturbed.
Reasons for Popcorn Ceiling Removal
Why Remove It?
- Modernize Your Aesthetic
Popcorn ceilings can make a home feel out of date. Removing them offers an opportunity to refresh and modernize your living space.
- Increase Home Value
Removing popcorn ceilings can increase your property’s market value, as this is a frequently requested upgrade by potential buyers.
- Health and Safety
If your ceiling contains asbestos, removing it under professional guidance can help improve indoor air quality and eliminate potential health risks.
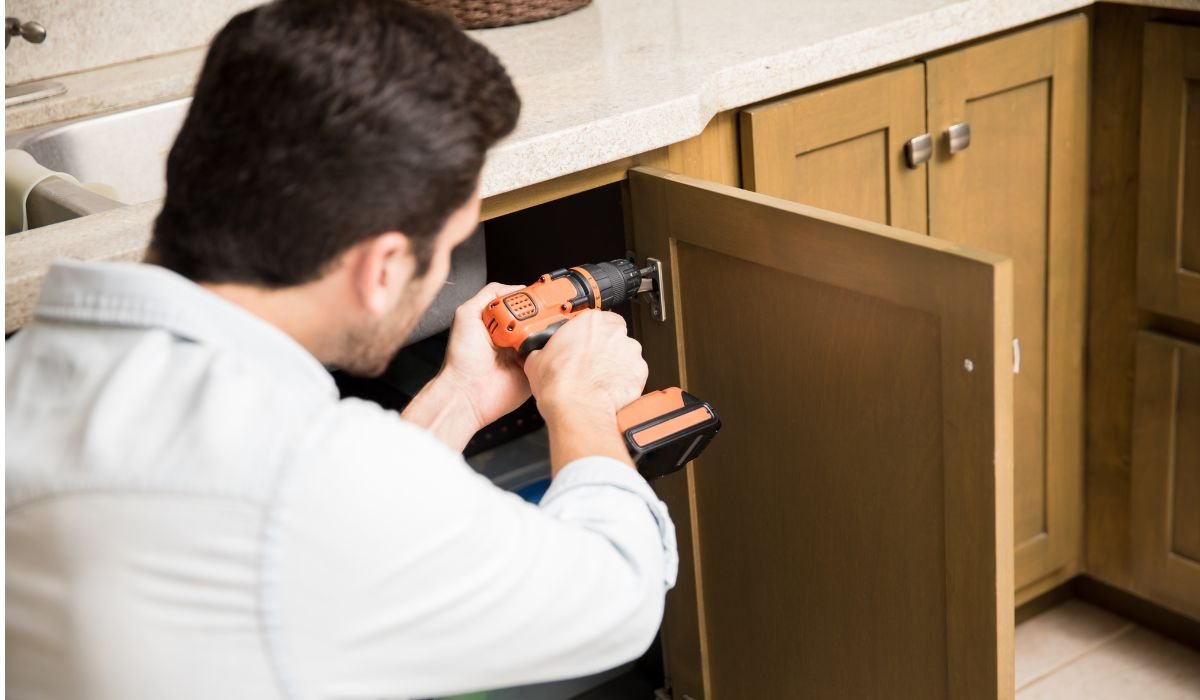
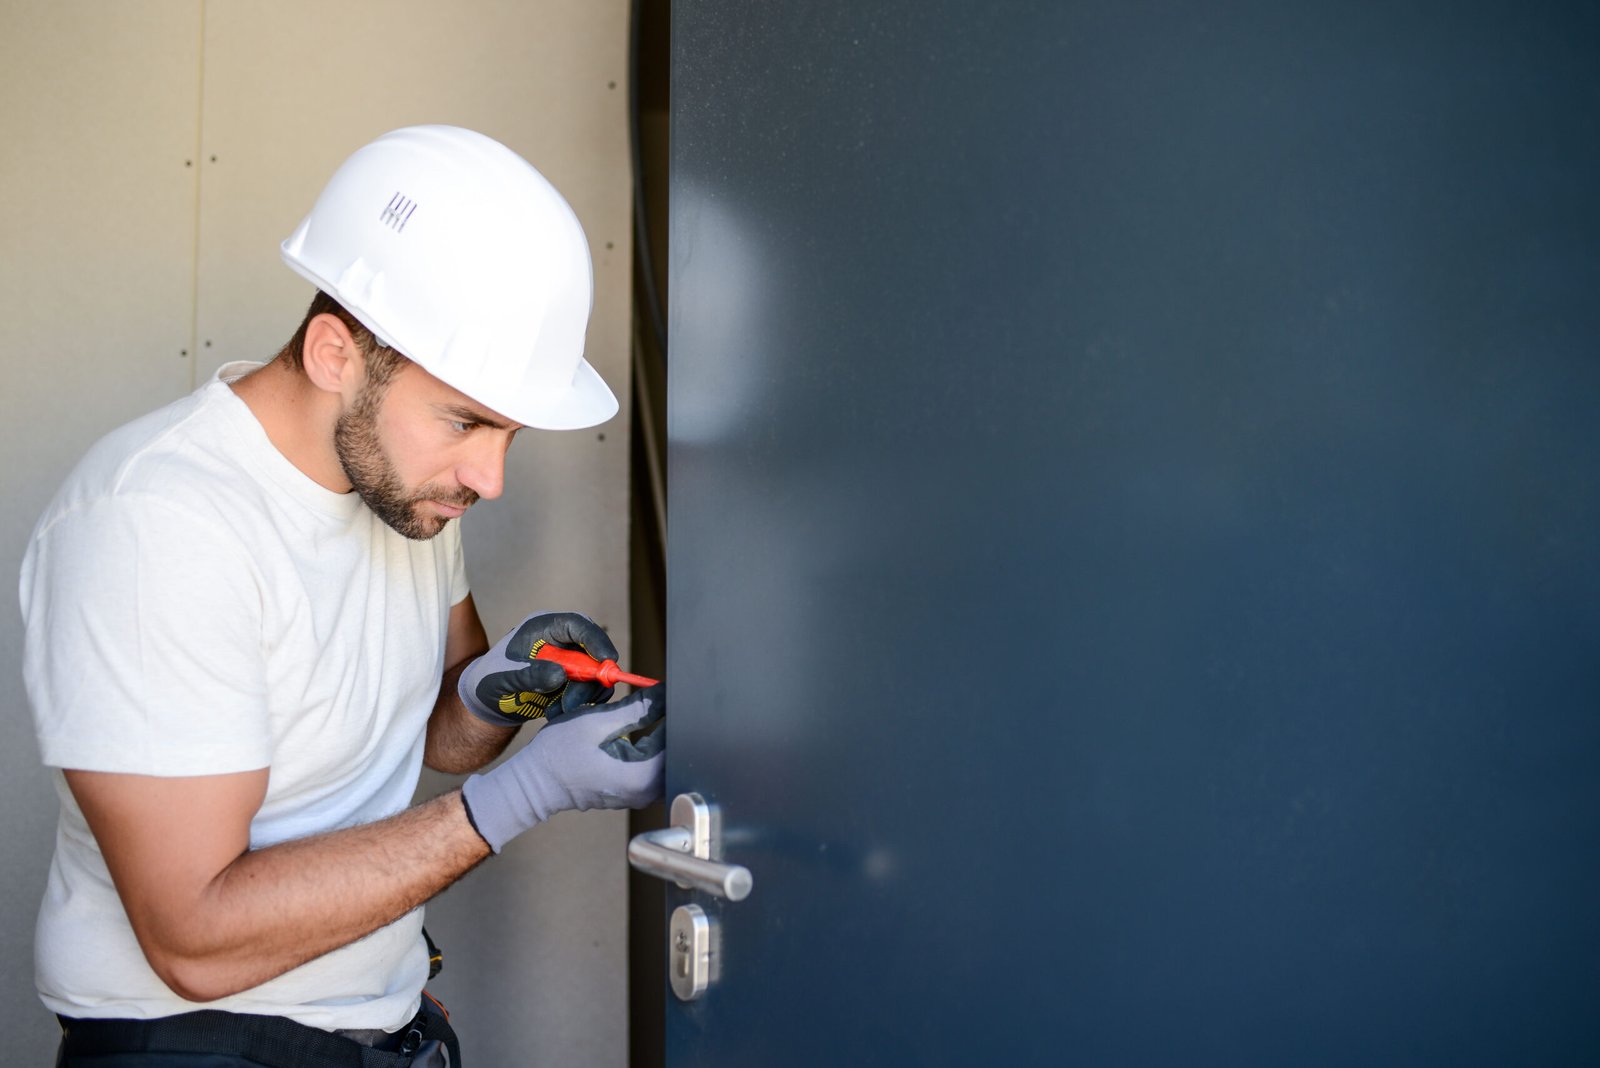
Popcorn Ceiling Removal: DIY or Hire a Professional?
DIY Pros and Cons
- Pros:
- Cost savings.
- A sense of accomplishment on completion.
- Cons:
- Time-consuming and labor-intensive.
- Risk of exposure to harmful substances like asbestos.
Cost Comparison
- DIY Costs:
- Equipment expenses may range from $50–$200 for basic supplies.
- Professional Services Costs:
- Hiring a contractor costs approximately $1–$2 per square foot but can go higher depending on size and condition.
Safety Considerations
- If your ceiling may contain asbestos, it’s best to hire licensed professionals to handle the removal safely.
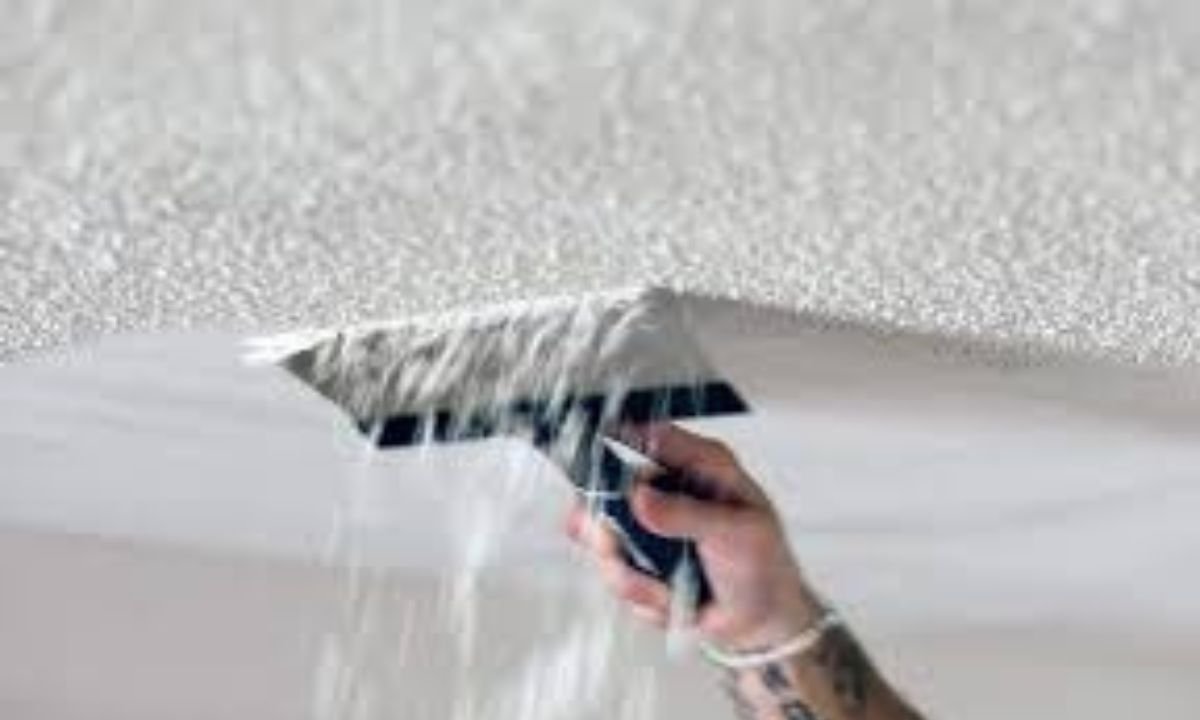
The Process of Popcorn Ceiling Removal
Step-by-Step Guide
- Test for Asbestos:
- Hire a professional to test for asbestos before proceeding.
- Prepare the Room:
- Remove or cover furniture and protect floors with plastic sheets.
- Spray and Scrape:
- Lightly mist the ceiling with water to soften the texture, then scrape gently with a drywall knife or scraper.
- Repair and Smooth:
- After scraping, patch any holes and sand down for a smooth finish.
- Prime and Paint:
- Apply a primer followed by your choice of paint or new texture.
Equipment and Materials
- Plastic sheeting
- Drywall knife or scraper
- Water sprayer
- Sandpaper or sanding blocks
Popcorn Ceiling Removal Cost
Factors Affecting Costs
- Size of the Room:
- Larger spaces require more time and resources.
- Condition of the Ceiling:
- Ceilings with multiple layers of paint may require extra effort to remove.
- Professional Fees:
- Rates can vary significantly by location and contractor experience.
Average Cost Breakdown
- DIY:
- Around $50–$200 for materials.
- Professional Removal:
- $1,000–$3,000 for an average-sized room (~500 square feet).
Cost- Saving Tips
- Handle preparation and cleanup yourself to reduce contractor time.
- Combine removal with larger renovation projects for bundled discounts.
Preparing Your Home for Popcorn Ceiling Removal
Steps to Prepare
- Clear the Room:
- Move all furniture and cover remaining items and flooring with plastic sheets.
- Turn Off HVAC Systems:
- Prevent dust from circulating throughout the house.
- Seal Off Entryways:
- Use tape to seal doors and windows to contain dust and debris.
Safety Tips
- Wear protective gear, including masks, goggles, and gloves.
- Ensure proper ventilation to minimize dust accumulation.
After Popcorn Ceiling Removal: Next Steps
Repair and Refinishing
- Patch any dings or holes and sand the ceiling for a smooth finish.
- Apply primer and your choice of finish—flat, textured, or coffered ceilings are popular options.
Maintenance Tips
- Regularly clean the new surface to prevent dust and dirt buildup.
- Avoid excessive moisture that could warp ceiling finishes.
Conclusion
Removing a popcorn ceiling can be a worthwhile investment that enhances the appearance and value of your home. With proper preparation, safety measures, and attention to detail, the process can be completed effectively, resulting in a cleaner, more modern-looking ceiling. By following the steps outlined and maintaining your newly finished surface, you’ll enjoy a refreshed living space that is both stylish and functional. For more tips and detailed guidance, visit this site.